The first time you open Cullibrate, the guided setup asks how you work and then introduces the workspace. You can replay that tour later from Help.
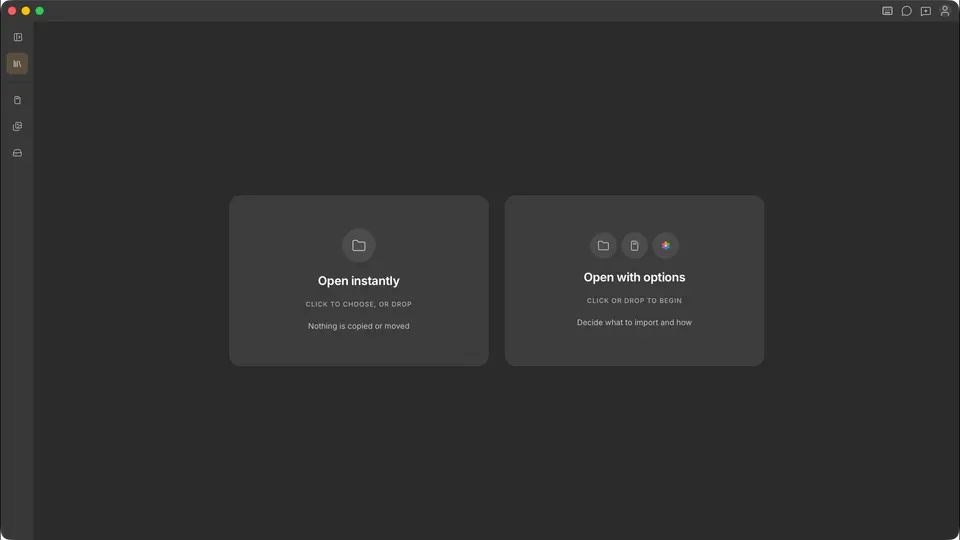
The workspace
The centre pane is where you review photos. Grid, Filmstrip, Compare, Survey, detail zoom, and Face Survey each answer a different culling question. They are covered in Culling basics.
Bringing in your photos
The last step of the guided setup shows the three ways to bring photos into Cullibrate. Until you open a file collection, the workspace offers the first two.
- Open instantly: drop a folder, or click to choose one. Cullibrate works from the photos where they are; nothing is copied or moved.
- Open with options (ingest): copy from a memory card, or bring in photos from your Apple Photos or iCloud Photos library, choosing where the copies go before you begin.
- Explore your computer: open File Collections from the title bar and browse folders, cards, and drives under Locations, then step up to the full workspace when you are ready.
Your keyboard starting point
Choose Cullibrate defaults or a shortcut preset based on another photo app. This changes the keys you start with; you can remap them later in Keyboard preferences.